Did you know that Internet Explorer has multiple modes that you can enable like Kiosk Mode and Full Screen Mode? The names of these modes are a bit confusing because you can minimize IE into a smaller window in Full Screen Mode, but can’t in Kiosk mode. I’ll explain in more detail below.
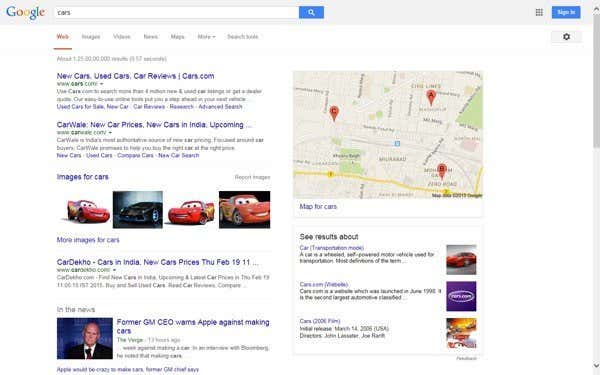
Kiosk mode is used on public computers where administrators do not want the public to be able to change any of the settings, etc. It’s also really useful if you simply want to maximize the viewing area when browsing the Internet. Here’s an example of what IE looks like in normal, full screen, and kiosk modes:
Normal IE Mode
IE Full Screen Mode
IE Kiosk Mode
As you can see in the image above, Kiosk Mode takes up the entire screen and doesn’t even show the title bar at the very top with the min, max and close buttons. In Kiosk Mode, there is actually no way to minimize the IE window unless you close it completely.
It’s also very hard to navigate in full screen and kiosk modes because there is no address bar or anything else. In kiosk mode, you can’t even close the window normally, but either have to use a keyboard shortcut or bring up the taskbar using the Windows key on the keyboard. Let’s talk about how you can enable each of these modes.
Enable IE Full Screen Mode
Note that you can only enable full screen mode for IE in the Pro, Ultimate, and Enterprise versions of Windows 7 and 8. This is because you need access to Group Policy editor and that is not available in the Standard or Home editions of Windows. Also note that full screen mode require IE 7 or higher.
First, open Group Policy by clicking on Start and typing in gpedit.msc. Click on the first result at the top.
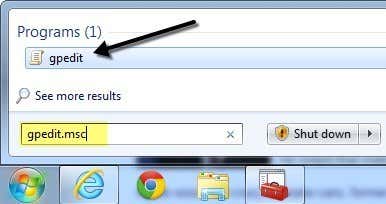
Once you open the editor, navigate to the following location:
Computer Configuration – Administrative Templates – Windows Components – Internet Explorer
On the right hand side, scroll down until you see Enforce full-screen mode and then double-click on the item. By default, it is set to Not Configured.
Click on the Enabled radio button and then click OK. You will also notice the Help section gives you a detailed description of how the setting will affect IE. Scroll down to the next section to learn how to navigate around IE using only keyboard shortcuts.
Enable IE Kiosk Mode
As mentioned earlier, kiosk mode will remove even the title bar at the very top of the screen so that the only thing on the entire screen is the currently loaded webpage.
In order to open IE in kiosk mode, you have to pass the executable file an extra parameter. You can either edit the original shortcut for IE or you can create a separate shortcut for opening IE in kiosk mode. I prefer the latter method so that you can easily choose normal or kiosk mode without having to keep editing the shortcut.
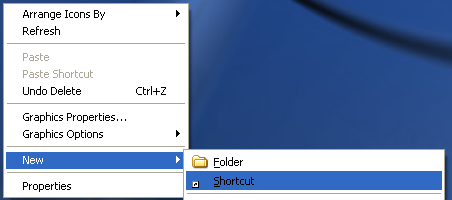
You can create the kiosk mode shortcut by right clicking anywhere on the desktop and choosing New – Shortcut.
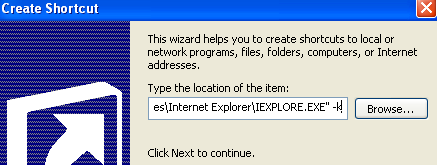
In the location box, copy and paste the following line exactly as shown, including the quotes. Note that the-k part is outside of the quotes and that is how you want it to be.
“C:\Program Files\Internet Explorer\IEXPLORE.EXE” –k
Click Next and type in “Internet Explorer Kiosk” or whatever you like to distinguish the link from the normal Internet Explorer icon on your desktop. Click Finish to create the shortcut.
By default, when you click on the link, IE will load up with the default home page. The fun part is now trying to figure out how to get around without using the back or forward buttons, the address bar or anything else.
Thankfully, you can get an entire list of Internet Explorer keyboard shortcuts to help you navigate. The basic commands you’ll need to know are:
Alt + Home – Go to your home page
Backspace – Go back one page (previous page)
Alt + Right Arrow – Go forward one page (next page)
CTRL + O – Open a new website or page (type in a website URL)
CTRL + W – Close the browser window
Even though it takes a little time getting accustomed to, browsing the Internet in full screen or kiosk mode in IE is actually pretty nice. There are no distractions and it effectively uses all of your screen real estate.
Kiosk Mode in Windows 8
If you are running Windows 8.1, there is another way to enable kiosk mode so that it is the only application the user is allowed to run. The user cannot go to the Start screen and can’t close the application at all. They cannot access the Charms bar or anything else. Using the two methods mentioned above, a user could still access other programs, settings, explorer, etc by simply pressing the Windows key on the keyboard.
This special mode in Windows 8 is called Assigned Access and can be used with any Windows modern app. This means you can’t use it with any desktop app. Luckily, there is a modern version of IE along with a desktop version of IE in Windows 8.1.
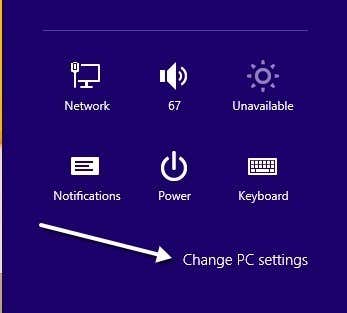
In order to use this super restrictive kiosk mode, you first have to create a new local account on the computer. To do this, open the charms bar and click on Settings.
Now click on the Change PC Settings link at the bottom of the charms bar.
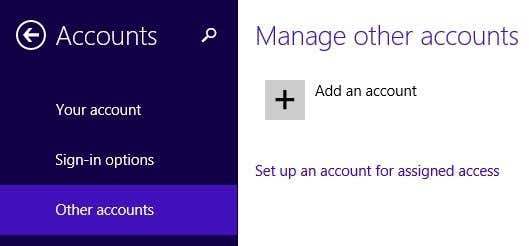
In the left hand menu, click on Accounts and then click on Other accounts.
Click the Add an account button to start adding a new local account. By default, Windows will try to get you to create a Microsoft account, which we don’t want to do.
Click Sign in without a Microsoft account at the bottom and then click Local Account on the next page that pops up.
Finally, give your new account a name and a password. Click Next and then Finish.
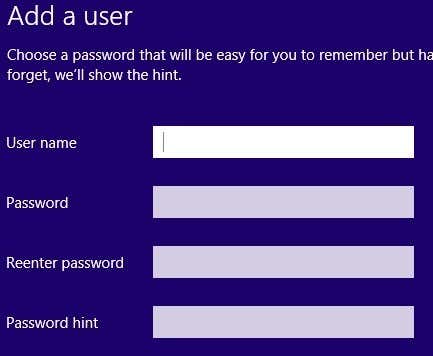
Now that you have added the new local account, go back to the Start screen and log off the current account. Click on the account name and then click Sign out.
Log into the new local account you created and let it setup the profile. You have to do this otherwise the next steps won’t work. Also, if you want to assign a non built-in Windows app to the account, open the Windows Store app and download the app so that it is installed for that user. In our case, we are just going to use the built-in IE modern app.
Once you have logged in and the Start screen appears, go ahead and log out. Log back in using the original administrative account you started with. Again, open Change PC Settings and click on Other accounts. This time click on Set up an account for assigned access.
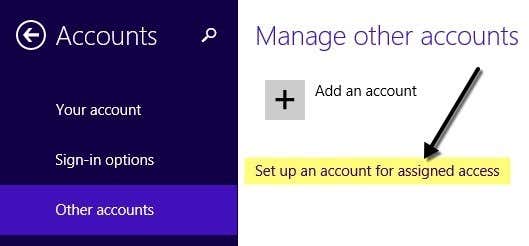
Now all you have to do is choose the local account you created and choose the app that you want assigned to that account. 
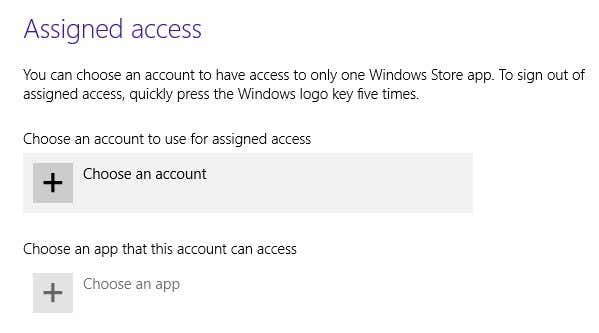
When you click Choose an app, you’ll see the list only contains modern apps and no desktop apps. I have chosen Internet Explorer as shown below.
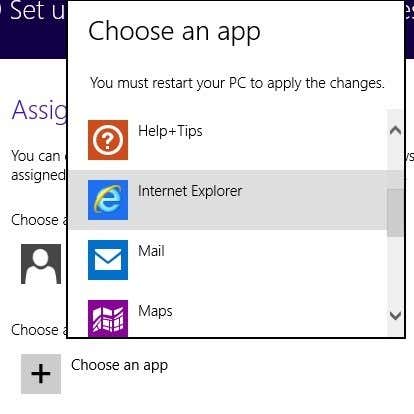
That’s it! Now just log out of your account and log into the local account. You’ll see the app loads instantly and there is absolutely nothing else you can access on the system. This truly locks down the PC to one particular app. In order to log off the restricted account, you need to press the Windows key five times.








Post a Comment